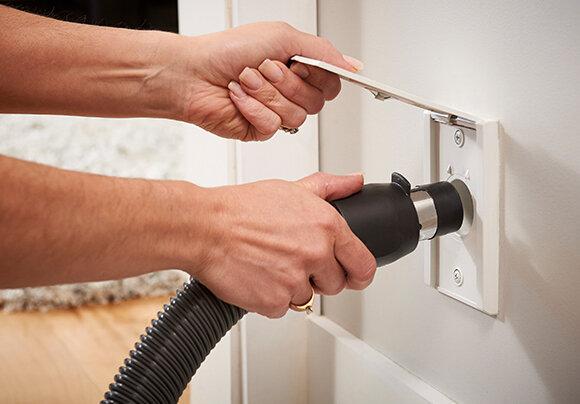
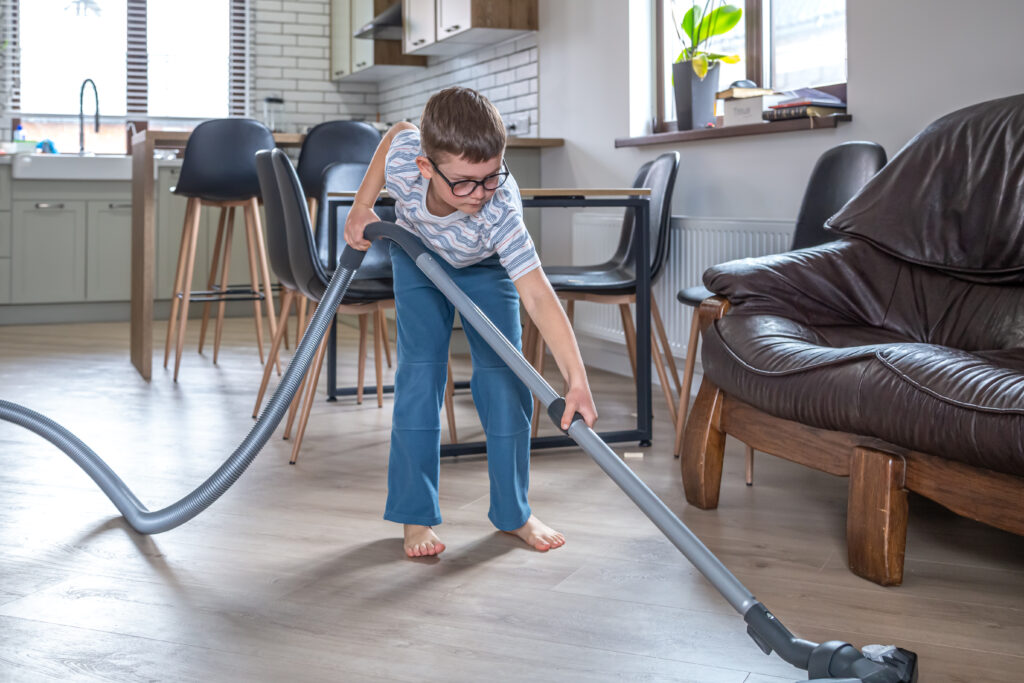
Central vacuum wall inlets are an important part of a built-in vacuum system because they provide convenient connection points throughout the home. Instead of carrying a heavy vacuum cleaner from room to room, homeowners can connect a lightweight hose directly to an inlet and use the central vacuum system to clean floors, stairs, furniture, and other areas. Properly positioned wall inlets can make cleaning more convenient while helping create a cleaner and more organized home. At So Cal Central Vacuum, our goal is to help homeowners get the most from their central vacuum systems with properly selected and installed components. We provide central vacuum wall inlets designed to provide convenient access to your central vacuum system throughout your home.
A central vacuum wall inlet works as the connection point between the cleaning hose and the vacuum tubing installed inside the walls. When the hose is inserted into a compatible inlet, the system can activate through the low-voltage control circuit and create suction through the connected tubing, sending dirt and debris to the central power unit. The number, location, and type of inlets can affect how easily different areas of a home can be reached. Understanding how wall inlets work can help homeowners choose suitable components, plan installation locations, and maintain reliable central vacuum performance.
Why Are Central Vacuum Wall Inlets Important?
Central vacuum wall inlets make a built-in vacuum system easier to use because they provide multiple access points around the home. Instead of moving a full-size vacuum cleaner between rooms, homeowners can connect the hose at the nearest inlet and clean the surrounding area.
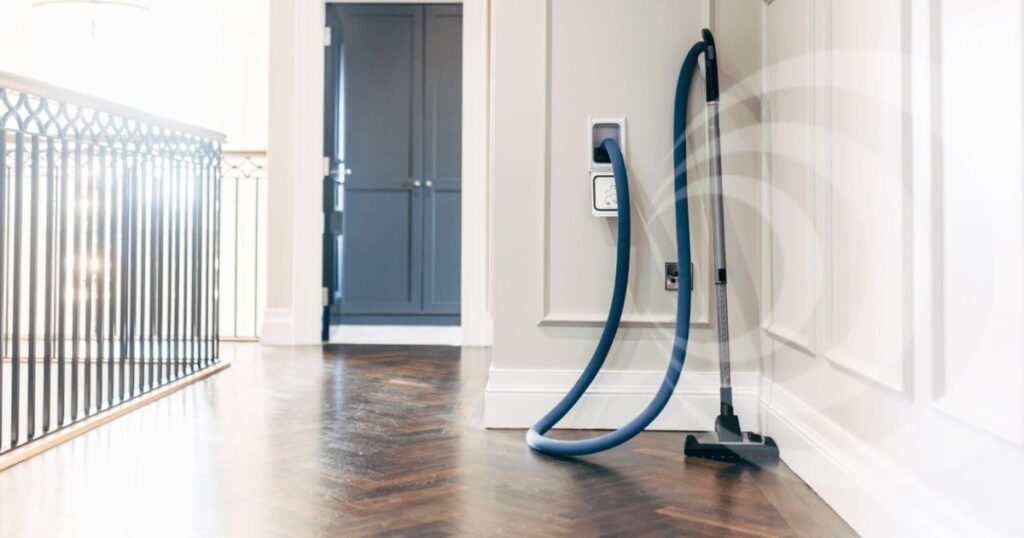
Proper inlet placement can also improve hose coverage and reduce the need to stretch or move the hose unnecessarily. Inlets are commonly positioned in convenient locations such as hallways and areas where they can reach multiple rooms without being blocked by doors or furniture.
A properly installed inlet also helps maintain an airtight connection between the hose, tubing, and central vacuum system. Poor connections, incorrect placement, or damaged components can affect suction and system operation.
Essential Components for Central Vacuum Wall Inlets
Installing or replacing a central vacuum wall inlet requires several components that work together as part of the system. These may include:
- Central vacuum wall inlet
- Mounting plate
- Vacuum tubing
- Low-voltage control wire
- PVC fittings and elbows
- Appropriate screws and mounting hardware
- Compatible central vacuum hose
- PVC cement where required
- Electrical tape or wire ties for securing low-voltage wiring
The exact components can vary depending on the inlet style and central vacuum system. Low-voltage wiring generally follows the vacuum tubing and provides the control connection between the inlet and power unit.
How Do Central Vacuum Wall Inlets Work?
The installation process requires careful planning because the inlet must connect properly to both the vacuum tubing and the low-voltage control wiring. The following steps provide a general overview of how wall inlets are installed.
Step 1: Plan the Inlet Location
Choose an inlet location that provides good cleaning coverage without being blocked by furniture, doors, or other permanent fixtures. Hallways and accessible wall areas can often provide useful coverage for nearby rooms.
The location should also allow access for routing the vacuum tubing and low-voltage wiring back to the central power unit.
Step 2: Prepare the Wall Opening
Before cutting the wall, check the cavity for plumbing, electrical wiring, framing, ducts, or other obstructions. Once the location is confirmed, prepare the opening according to the dimensions required by the selected inlet and mounting plate.
Proper measurements help ensure that the inlet sits correctly and can be securely attached.
Step 3: Run and Connect the Vacuum Tubing
The vacuum tubing is routed from the inlet location toward the main trunk line and central power unit. Connections should be properly fitted and sealed to help maintain consistent airflow.
During installation, tubing should be routed carefully to reduce unnecessary bends and avoid creating areas where debris could become trapped.
Step 4: Connect the Low-Voltage Wiring
Low-voltage wiring is routed along with the vacuum tubing and connected to the inlet terminals. This wiring creates the control circuit that allows the inlet to activate the central vacuum power unit when the hose is inserted.
The wiring should have a continuous connection back to the power unit so each inlet can operate properly.
Step 5: Install the Mounting Plate
The mounting plate is positioned inside the wall opening and aligned properly. It provides the base needed to secure the inlet and connect it to the vacuum tubing.
The mounting plate should be level and positioned correctly before the inlet is attached. Manufacturer instructions should always be followed because mounting requirements can vary between models.
Step 6: Secure the Wall Inlet
Connect the low-voltage wires to the inlet terminals and position the inlet against the mounting plate. Secure it using the appropriate screws and hardware.
The inlet should be mounted firmly without overtightening, which can damage components or create installation problems.
Step 7: Connect the Vacuum Hose
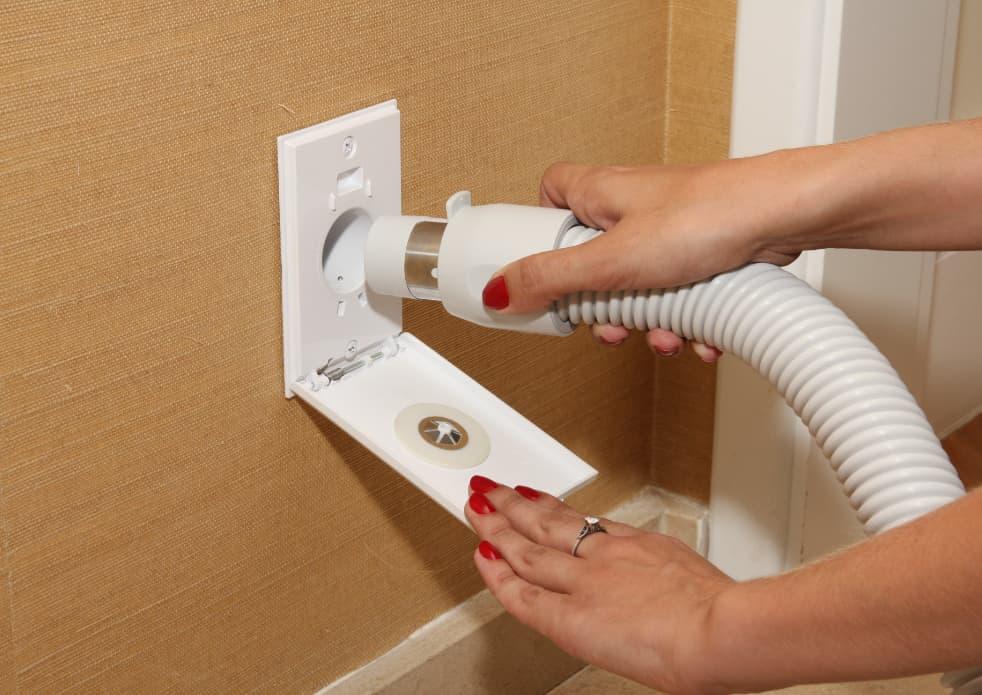
Once the inlet is securely installed, connect a compatible central vacuum hose. In many systems, inserting the hose completes the low-voltage circuit and activates the central vacuum power unit.
This allows homeowners to start cleaning directly from the wall inlet without manually switching on the central power unit.
Step 8: Test the Central Vacuum System
Test each inlet to make sure the power unit activates properly and the hose receives adequate suction. Check the inlet, tubing connections, and power unit for possible air leaks.
Testing every inlet after installation can help identify wiring, connection, or airflow problems before the system is put into regular use.
Types of Central Vacuum Wall Inlets
Different inlet designs are available for different cleaning needs and installation locations. The most suitable option depends on the central vacuum system, available space, hose compatibility, and how the area will be used.
Standard Inlets
Standard low-voltage inlets are common wall connection points. When the hose is inserted, metal contacts send a low-voltage signal that activates the central vacuum unit.
SuperValve Inlets
SuperValve inlets provide 120-volt power along with low-voltage control, allowing homeowners to use electric powerbrushes without a separate exposed power cord.
VacPan Inlets
VacPan inlets are usually installed near the baseboard/toe-kick area in kitchens, bathrooms, mudrooms, or other areas. Debris can be swept in front of the inlet, and the system can be activated with a switch.
WallyFlex Inlet
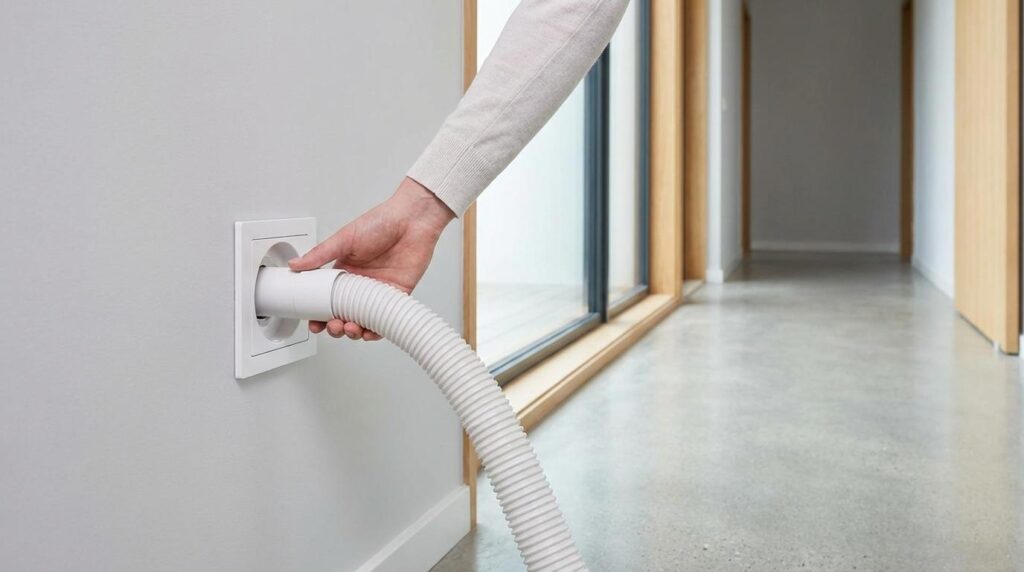
WallyFlex is a wall-mounted auxiliary hose inlet that is useful for quick cleanup in kitchens, laundry rooms, bathrooms, garages, or workshops. Its stretch hose remains stored in the wall-mounted console.
Common Problems With Central Vacuum Wall Inlets
Central vacuum wall inlets can develop problems when components become damaged, connections loosen, or the system develops an obstruction or air leak. Common issues may include:
- Weak suction at the inlet
- Inlet not activating the power unit
- Damaged inlet door
- Loose mounting hardware
- Air leaks around connections
- Blocked vacuum tubing
- Faulty low-voltage wiring
- Incompatible hose or inlet components
Checking the inlet, hose, tubing, and wiring can help identify the source of the problem. If the issue continues, professional inspection may be needed to determine whether the problem is located inside the wall or within the central vacuum system.
Choosing the Right Location for Wall Inlets
Wall inlet placement can have a major effect on how convenient the central vacuum system is to use. An inlet should provide enough hose coverage for the intended cleaning area while remaining easy to access.
Avoid placing inlets behind doors, large furniture, or other permanent obstacles. Hallways can be useful because one inlet may provide access to several nearby areas. Special consideration may also be needed for stairs, garages, mudrooms, basements, and other spaces with different cleaning requirements.
For existing homes, installation can be more challenging because installers may need to work around plumbing, electrical wiring, structural framing, cabinets, or finished walls.
How to Maintain Central Vacuum Wall Inlets
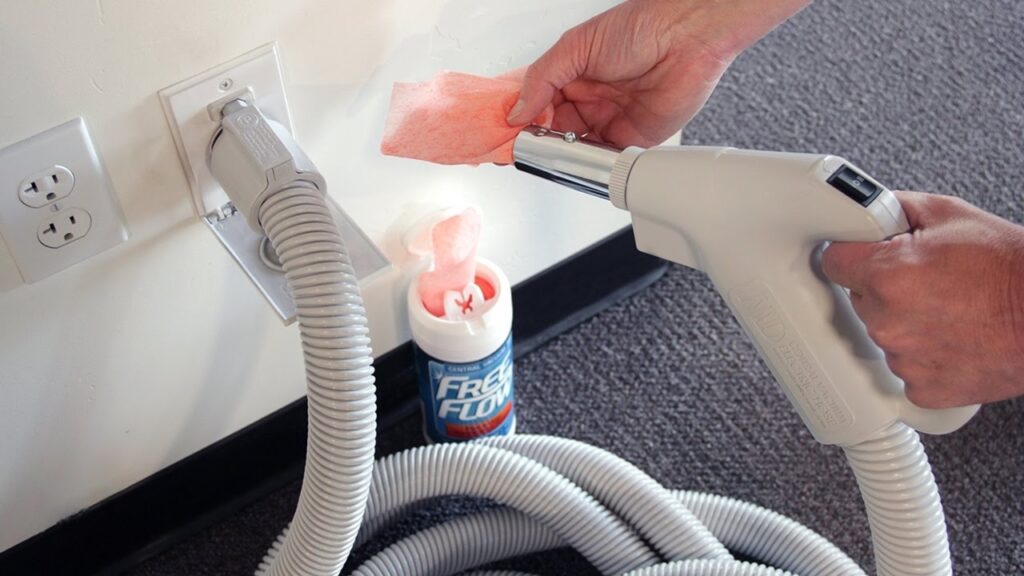
Regular maintenance can help central vacuum wall inlets remain reliable and easy to use. Keep the inlet opening clean and check the inlet door for cracks, looseness, or other visible damage.
The hose and inlet should also be checked periodically for blockages or airflow restrictions. If an inlet becomes loose or starts making unusual noises, inspect the connection and mounting hardware.
It is also important to avoid forcing incompatible hoses or accessories into an inlet. Using components designed for the specific central vacuum system can help prevent connection and activation problems.
Why Professional Central Vacuum Wall Inlet Installation Matters
Installing central vacuum wall inlets requires more than simply attaching an inlet to the wall. Professionals understand how to plan inlet locations, connect vacuum tubing, install low-voltage wiring, secure the inlet, and test the system for proper operation. Proper installation can help prevent air leaks, weak suction, loose connections, and activation problems.
At So Cal Central Vacuum, we focus on proper component selection and careful installation from start to finish. We provide expert built-In vacuum systems in Los Angeles, CA to help homeowners create convenient and reliable access points for their central vacuum systems.
Professional installation can be especially helpful for new construction, remodeling projects, replacement inlets, or homes where existing vacuum tubing and wiring need to be accessed. Experienced professionals can evaluate the system layout and help ensure that each inlet is positioned and connected properly.
Conclusion
Central vacuum wall inlets provide convenient connection points that make built-in vacuum systems easier to use throughout the home. From standard wall inlets to SuperValve, VacPan, and WallyFlex options, different inlet designs can serve different cleaning needs.
Proper planning, tubing connections, low-voltage wiring, secure mounting, and final testing are important parts of a reliable installation. Choosing the right inlet and having it installed correctly can help improve convenience, airflow, and overall central vacuum performance.
FAQs
How Many Wall Inlets Does a Central Vacuum System Need?
The number depends on the home’s layout and hose length. Inlets should be positioned so the hose can reach the areas that need cleaning.
Where Is the Best Place to Install a Vacuum Inlet?
Inlets are commonly placed in hallways or other accessible locations where furniture and doors will not block hose access.
Can a VacPan Be Installed in an Existing Home?
Yes. A VacPan can be installed in an existing wall or during new construction, but the installation requires access for vacuum tubing and low-voltage wiring.
Where Is a WallyFlex Inlet Commonly Used?
WallyFlex units are useful in areas such as kitchens, bathrooms, laundry rooms, garages, and workshops where quick cleanup is needed.
Does a Central Vacuum Inlet Need Low-Voltage Wiring?
Standard low-voltage inlets use wiring to send the activation signal to the central vacuum power unit when the hose is connected.
Can Wall Inlets Be Added to an Existing Central Vacuum System?
Yes. Additional inlets can be added to existing systems when there is a suitable route for the vacuum tubing and control wiring.