A central vacuum system provides a strong and convenient way to clean your home, with several wall inlets located throughout your house giving you easy access to suction. A central vacuum system operates more effectively than portable vacuum cleaners, providing better dust and debris removal quietly, ultimately improving indoor air quality and reducing cleaning time. While Central Vacuum Installation can seem daunting, you can certainly install the central vacuum system yourself if you are properly equipped and plan. Whether you are building a new home or retrofitting an existing home, this guide will help you install a central vacuum system step by step.
Central Vacuum System: Step-by-Step DIY Installation Guide
Choosing So Cal Central Vacuum ensures a cleaner, healthier home. Their Central Vacuum Power Units offer powerful suction and convenience. Below, you’ll find all the key steps to guide you through a successful Central Vacuum Installation — making home maintenance easier and more efficient.
DIY-ers should follow these steps for a seamless Central Vacuum Installation:
- Step 1: Plan your layout and gather your tools
It’s important to plan for a successful Central Vacuum Installation, especially for a retrofit. Identify the best locations for the main power unit and for each wall inlet. You can use a 30-foot string to test and simulate the range of the hose. Plan for your specialized PVC piping, and determine the most central and accessible route for running the PVC. Make sure to work around obstacles.
- Place the power unit in a basement or garage to reduce noise.
- Position one inlet valve per 600-800 sq. ft. for full home coverage.
- Plan the most direct piping route through walls, attic, or basement.
- Gather essential tools: drill, hole saws, pipe cutter, and PVC cement..
- Step 2: Install the wall inlets
After you’ve developed your plan, you will indicate and cut the openings for the wall inlet valves. These are typically located on interior walls away from furniture, as well as at a convenient height. After you cut the opening, you will install the wall mounting brackets, connect the low-voltage wiring, and install the wall inlet valve covers.
- Cut a 2.25–2.5″ hole between wall studs for each inlet.
- Feed the low-voltage wire through the hole and secure the mounting bracket.
- Connect the wires to the inlet plate, then attach the cover.
- Step 3: Run and connect the tubing
Specialized PVC tubing for central vacuum systems needs to be routed to connect all the wall inlets to the central power unit. It is very important to use the correct materials and methods of cutting and cementing to create an airtight, smooth interior to discourage clogs and maximize airflow.
- Cut the vacuum tubing straight and deburr the ends.
- Dry-fit, then cement pipe connections with PVC cement outside the pipe.
- Attach low-voltage wire to piping with tape or ties to avoid snags.
- Step 4: Mount the power unit
The power unit and canister are almost always placed in a location like a garage or basement, separate from living areas, to minimize noise. The unit must be fastened to a wall stud and plugged into an electrical outlet that has a ground (outlet is either 120V or 240V, per local code). Adequate clearance for venting air and cleaning up debris should be provided.
- Mount the unit to a stud at an accessible height.
- Attach the main trunk line to the intake valve with a flexible connector (no glue).
- Connect low-voltage wires, plug into a dedicated outlet.
- Vent exhaust properly to the outside, avoiding concealed spaces.
- Step 5: Test the system and finish
When everything is assembled, it is important to test the system to make sure it functions properly and does not leak. Use your final checklist to check all the connections, then, for each inlet, test for activation and strong and consistent suction before you do a final cleanup.
- Check for leaks by listening for hissing when the unit is on.
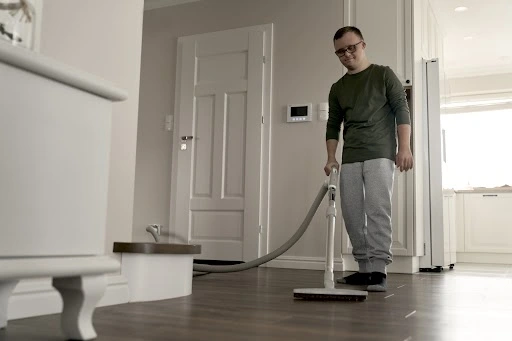
- Test each inlet for suction and activation using the hose.
- Ensure proper airflow with a maintenance sheet to rule out clogs.
- Seal and finish around all inlet valves.
Conclusion
If you have access to power tools and are comfortable with drilling and cutting, installing a central vacuum on your own is a fun project that offers increased comfort and cleanliness to your home. With appropriate forethought and by accurately installing the inlets and tubing and mounting the power unit, you can achieve results comparable to those of a professional installation. Be sure to test your system out thoroughly to ensure that it is working at its peak efficiency and address any concerns you have found before cleaning up. There are few things more satisfying than the strong cleaning experience, and the added value of a high-quality central vacuum system!
FAQs
How often should I empty the canister?
Typically, every three to six months, depending on use.
How do I know how many inlets I need?
Plan for one inlet per 600-800 square feet to ensure the hose reaches throughout your home.
Where is the best location for the power unit?
Basements or garages are ideal for reducing noise and providing easy debris removal.
What maintenance is needed?
Regularly empty the dirt canister and check filters. Some systems feature self-cleaning filters, reducing maintenance needs.
How do I plan the layout?
Start by determining the central location for the power unit. Then, plan the routing of PVC pipes to wall inlets, avoiding sharp bends to maintain airflow efficiency.